To make the most of your virtual visit with your dermatologist, please take a photo of your area of concern and upload it to our virtual visit software. Here’s how:
Step One: Preparing to Photograph
To take the best photos for your dermatologist to review your lesion or rash:
- Choose a well-lit place with diffuse, indirect light, and as neutral a background as possible.
- For best results, photograph outdoors in bright but even light – in the shade if it’s sunny or under no cover if overcast.
- If you need to shoot indoors, choose a well-lit area, perhaps near a window. Use flash as needed to reduce shadow, but if the flash creates overexposed “white” spots in the picture, turn it off.
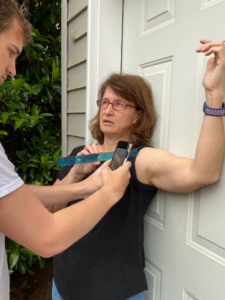
- If possible, have another person take the picture if you can.
Step Two: Taking Your Photograph
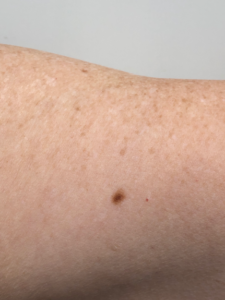
Take three views, all directly in front of the lesion or rash (not at an angle). We are looking for a:
- Wide shot – including the entire body or obvious region
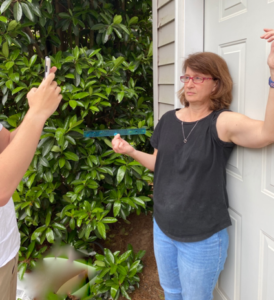
- Medium shot – including the area with a recognizable body part like hand or navel
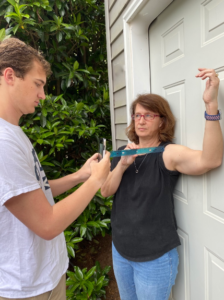
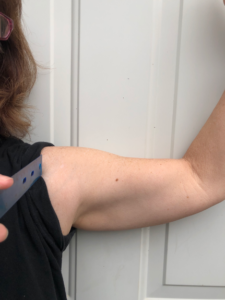
- Close-up shot – getting as close as you can still keeping the lesion or rash in focus.
Having trouble getting your close-up shot to stay in focus? Read our Dermatologist Tips for Skin Photography.
Step Three: Uploading Your Photos
- Log into the virtual visit portal by clicking here.
- Choose your dermatologist from dropdown list.
- Follow the prompts to check in.
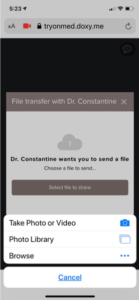
- Once connected, your doctor will request a file transfer. Click on, “Select file to share.”
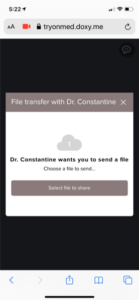
- Select the photos you took from your phone’s camera roll, as you would to text or email them.
- Click, “Done.”